Ready to ditch the predictable Valentine's Day nails and embrace a look that's truly you? This year's nail art trends offer a captivating blend of classic romance and modern flair, promising something for every style. Whether you're a seasoned nail artist or a DIY enthusiast, this guide provides inspiration, step-by-step tutorials, and expert product recommendations to help you craft the perfect Valentine's Day manicure. Get ready to unleash your inner artist and create nails that are as stunning as you are!
Classic Romance: A Modern Twist on Timeless Designs
This Valentine's Day, classic designs receive a fresh, contemporary update. Forget outdated heart shapes! Think delicate, minimalist hearts scattered across a soft nude or pastel background—a sophisticated, subtly romantic look. Imagine a French manicure accented with a single, perfectly formed heart, or a captivating ombre effect, gently transitioning from a blush pink to a deep crimson. These refined designs are the epitome of effortless elegance, ideal for a romantic dinner or a cozy evening in. The understated beauty lies in their simplicity—a timeless style with a modern twist. Aren't subtle design details the key to achieving a truly polished and romantic look this Valentine's Day?
Playful Patterns: Beyond the Traditional Heart
While hearts remain a classic symbol of love, let's break free from convention this year! Embrace whimsy with adorable cupids, charming cherubs, or sweet lovebirds fluttering across your fingertips. Vibrant colors and fun details are totally in—consider bold geometric patterns featuring pops of red, pink, and gold. This is your chance to unleash your creativity and express your personality! Picture fun, cartoonish hearts, or abstract love-themed patterns—the possibilities are endless. Let your nails reflect your playful spirit and unique style. Don't you think that adding a touch of whimsy is a great way to uplift your Valentine's Day look?
Minimalist Chic: Subtlety with a Touch of Glamour
For those who favor a more understated yet stylish approach, minimalist chic is your perfect match. A touch of red or pink against a neutral backdrop can be surprisingly impactful. A single, perfectly placed heart on one accent nail makes a powerful statement without being overwhelming. Or, consider a subtle dusting of glitter at the base of each nail—a hint of understated glamour. This approach showcases elegance through simplicity—a quiet confidence that speaks volumes. It's the perfect balance of sophistication and effortless beauty. Wouldn't a minimalist design be a great way to showcase your elegant style this Valentine's Day?
Bold & Glamorous: Making a Statement This Valentine's Day
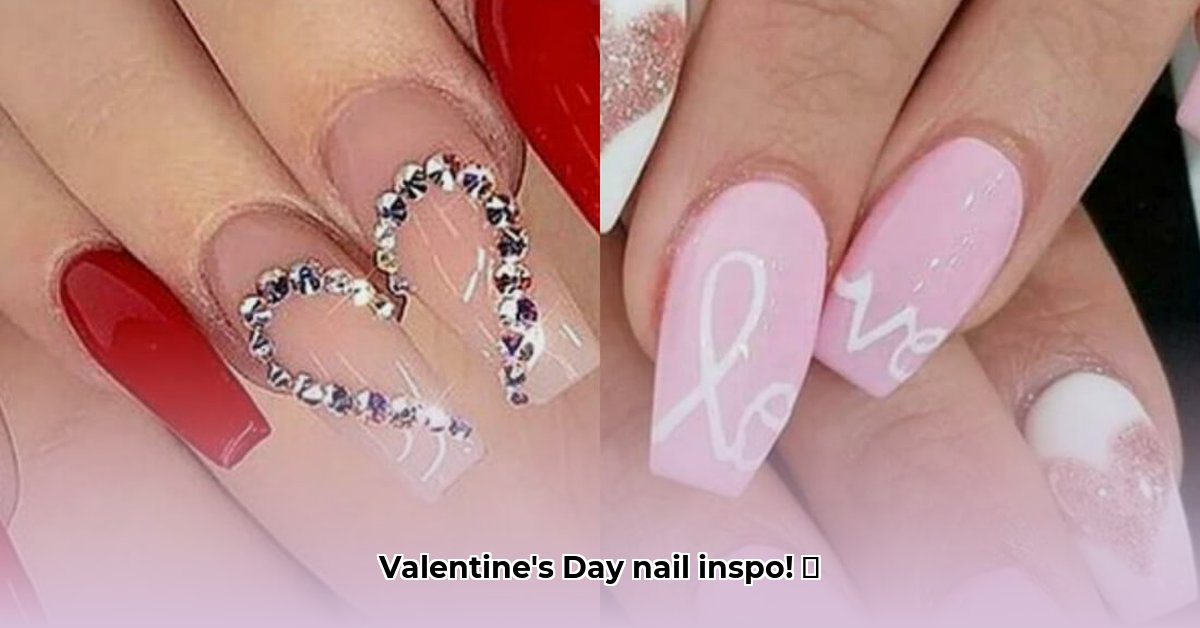
Dare to make a statement this Valentine's Day? Embrace bold choices! Think deep, rich reds, dazzling glitter gradients, or intricate jewel-toned designs. Metallic accents add a touch of luxury, while 3D nail art elements create a truly unforgettable look. Don't shy away from experimenting with textures and colors; let your nails be a dazzling work of art, reflecting your vibrant personality. This style is all about making a statement—expressing confidence and self-love. Is a bold and glamorous manicure on your Valentine's Day to-do list?
Step-by-Step: Creating a Simple, Yet Stunning Heart Accent Nail
Let's create a minimalist heart accent nail—a simple yet impactful design. This step-by-step guide will help you achieve this look at home:
Step 1: Preparation is Key
Gently push back your cuticles. Shape your nails to your desired length and form. Cleanse your nails thoroughly to remove any oils or residue. This ensures a smooth, even application of polish.
Step 2: Build a Solid Base
Apply a thin layer of base coat to protect your nails and provide better adhesion for the polish. Allow the base coat to fully dry before moving to the next step. This prevents smudging and chipping.
Step 3: The Perfect Nude Canvas
Apply two thin coats of a neutral nude polish. Let each coat dry completely before applying the next. Patience is key to prevent smudging or imperfections.
Step 4: Time for the Heart!
Select one accent nail (the ring finger is classic, but you can choose any nail!). Using a thin nail art brush and a rich red polish, carefully paint a small heart shape onto the accent nail. Start with a light outline, ensuring it is symmetrical, then carefully fill in the heart.
Step 5: Precise Polish Application
Once the heart is dry, give it a second coat of red to ensure a bold and even finish. Allow this coat to completely dry before proceeding.
Step 6: The Finishing Touch
Apply a top coat over all nails. This will protect your design and add a beautiful shine. Let it dry thoroughly for a chip-resistant and long-lasting manicure.
Product Recommendations: Your Valentine's Day Nail Kit
Choosing the right tools and polishes can make all the difference. Here are some suggestions to get you started:
| Product Category | Product Suggestion (Examples Only) |
|---|---|
| Base Coat | [Brand Name] Base Coat |
| Nude Polish | [Brand Name] Nude Polish |
| Red Nail Polish | [Brand Name] Red Nail Polish |
| Thin Nail Art Brush | [Brand Name] Nail Art Brush |
| Top Coat | [Brand Name] Quick-Dry Top Coat |
| Glitter Top Coat (Optional) | [Brand Name] Glitter Top Coat |
Remember, these are just suggestions; feel free to experiment with different brands and colors to create a truly unique manicure! The most important thing is to choose a design that reflects your personal style and makes you feel beautiful and confident. Happy Valentine's Day!